Car Anxiety Training Equipment vs. Generic Dog Training Supplies
By Rafael Okoye • 29th May
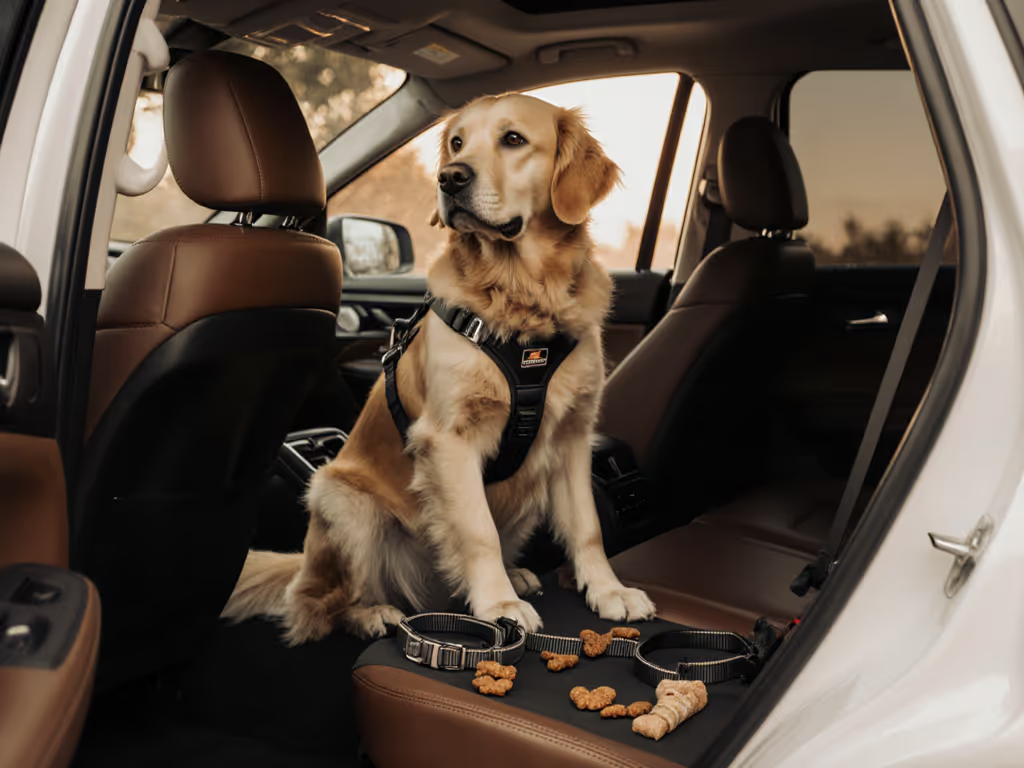
If you're trying to choose between dedicated car anxiety training equipment and more generic dog training supplies, the right answer depends on your dog's specific stress profile, body type, and your car setup. The most effective plans usually combine both: targeted vehicle anxiety reduction tools layered onto a foundation of well-fitted, welfare-first gear.
Measure twice, adjust thrice, then test on real sidewalks.
FAQ 1: Do I really need specialized car anxiety training equipment?
When generic dog training supplies are enough
For many dogs, you can make significant progress using only:
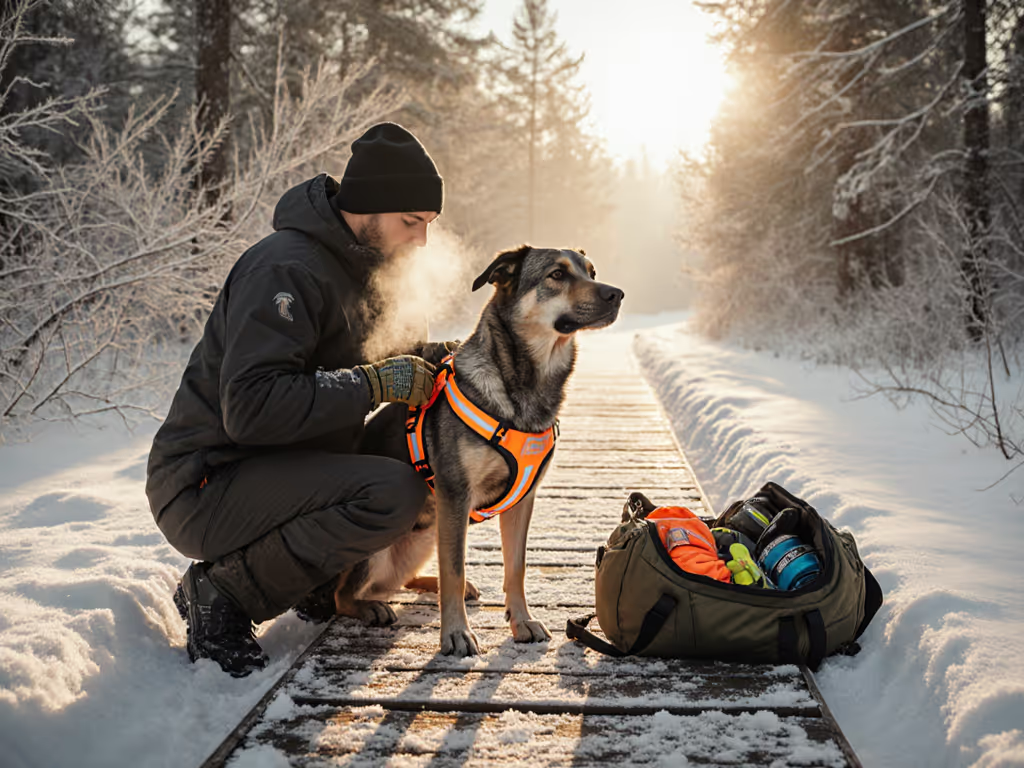
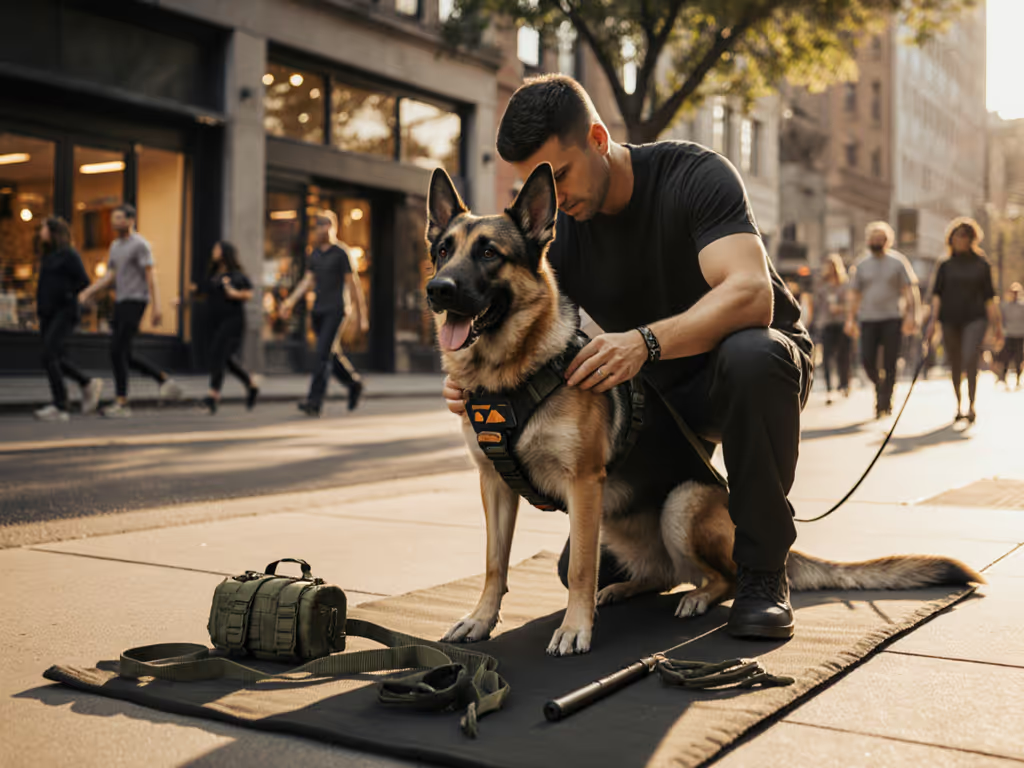
- A well-fitted Y-front harness (non-restrictive)
- A standard 4-6 ft leash
- A familiar mat or bed
- High-value treats and a treat pouch
- A clicker or marker word
These cover the core training needs: For choosing effective reinforcers on the road, see our dog training treats guide.
- Safety & restraint: Harness and leash keep the dog from roaming or bolting when doors open.
- Comfort & predictability: A familiar mat acts as a "mobile home base."
- Reinforcement delivery: Treats and a marker create clear communication during in-car desensitization.
If your dog:
- Only pants mildly
- Settles within a few minutes
- Will eat treats in the car
...you can usually meet your goals with generic tools plus a structured desensitization plan.
When specialized vehicle anxiety reduction tools are worth it
Invest in car anxiety training equipment when you see any of these:
- Intense panting, drooling, or whining that doesn't fade with exposure
- Barking or lunging at passing cars or bikes
- Refusal to get into the car
- Pacing, clawing at doors, or attempts to escape
- Significant motion sickness (vomiting, nausea behaviors)
In those cases, targeted vehicle anxiety reduction tools and in-car desensitization equipment can:
- Reduce sensory overload (visual, vestibular, or noise-based)
- Improve physical stability, reducing nausea
- Make incremental training steps safer and more predictable
Generic gear builds the foundation; specialized car tools fine-tune comfort and safety when anxiety runs high.
FAQ 2: What counts as "car anxiety training equipment" vs generic dog training supplies?
Side-by-side comparison
| Category | Example Use | When It's "Car-Specific" | Key Risk Notes |
|---|---|---|---|
| Harness | Restraint, safety, comfort | Crash-tested harness rated for vehicle use | Avoid narrow chest straps that cut into shoulders on turns. Chafe-risk alert for deep-chested dogs. |
| Restraint point | Limits movement | Seat-belt tether, dog-specific car anchor | Never clip to a flat collar. Harness only to protect neck. |
| Visual filter | Lowers visual triggers | Calming cap / light mesh over eyes | Use only with supervised, short tests; ensure normal breathing. |
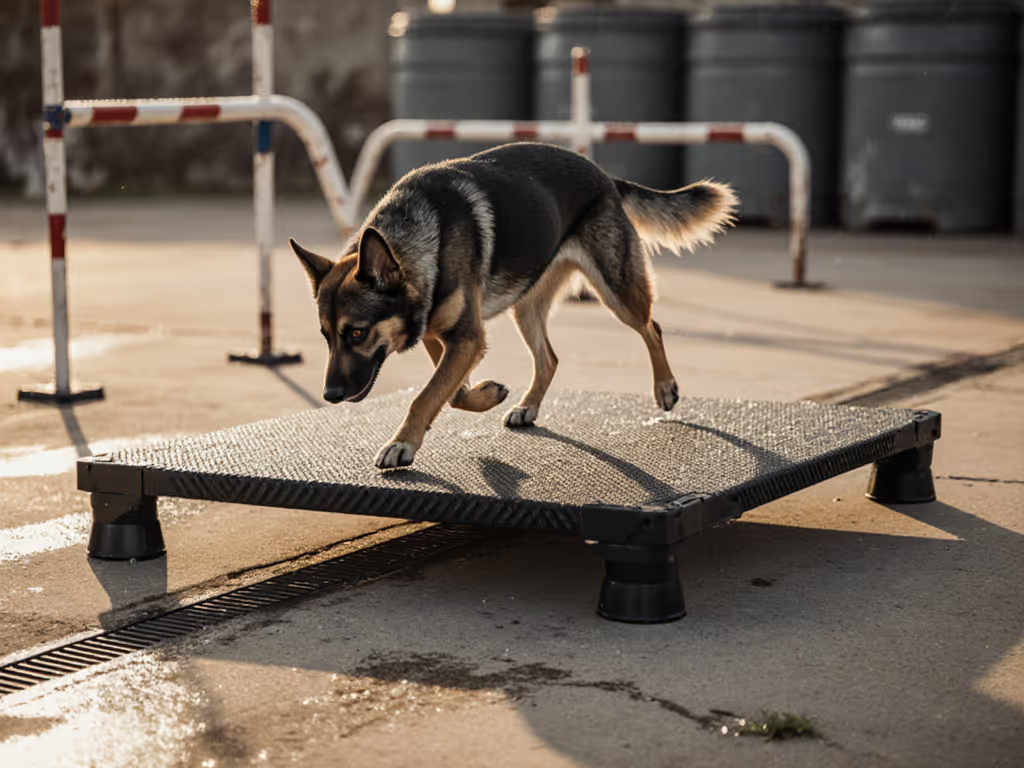
| Stability aid | Reduces sway / nausea | Booster seat, non-slip platform, crate with anti-slip mat | Poor fit leads to sliding and increased anxiety. |
| Ambient comfort | Atmosphere | White-noise machine, fan position, window shades | Avoid placing fans directly at eyes or ears. |
| Generic training supplies | Behavior work | Mat, treats, clicker, long line | Requires structured plan to be effective. |
Car-specific tools change how the dog experiences motion, space, and stimuli. Generic dog training supplies change how you teach the dog to feel and behave in that environment.
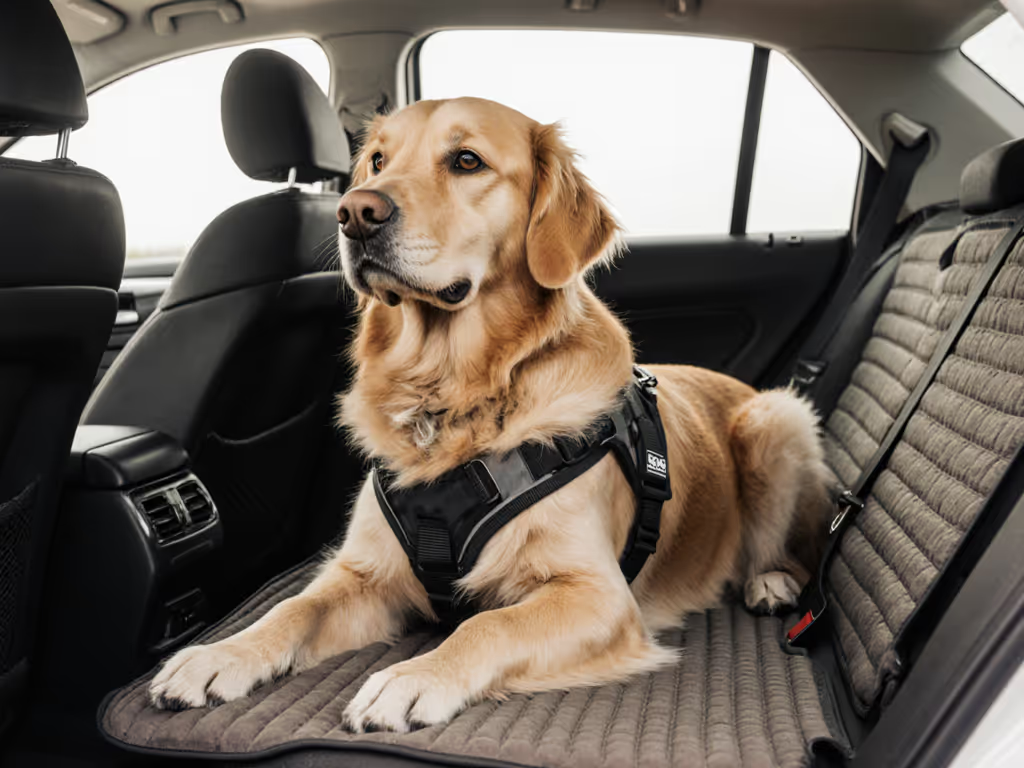
For most guardians, the sweet spot is a safe, well-fitted harness + mat + treats, then selectively adding:
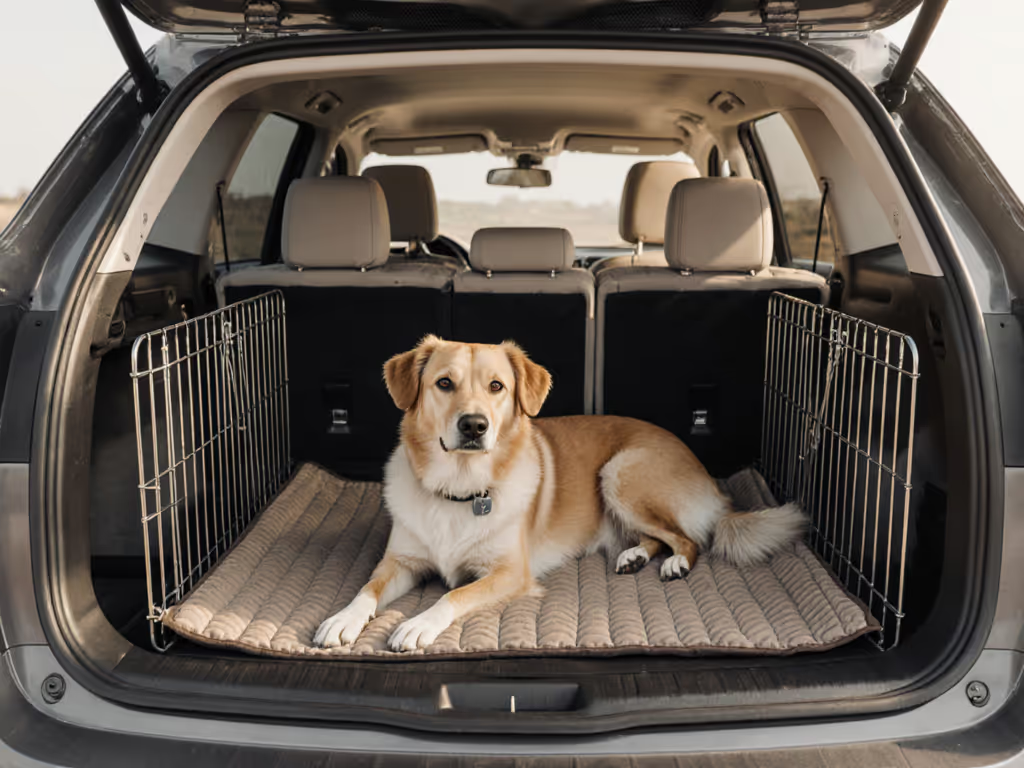
- A booster or crate for stability
- A calming cap if visual triggers are intense
- Window shades for dogs sensitive to bright, fast-moving scenery
FAQ 3: How does equipment choice affect safety and comfort in the car?
Harness ergonomics in moving vehicles
In cars, the same ergonomic rules apply as on sidewalks (just with higher forces in braking or collisions):
- Prefer Y-front harnesses that keep the shoulder joints free.
- Chest strap should sit 2-3 fingers below the throat (no pressure on trachea).
- The sternum strap should end on the breastbone, not the soft belly.
Fit checkpoints for car use:
- Dog can take a full stride in a parking lot without the harness pulling the shoulders backward.
- When clipped to a seat-belt tether, the harness does not ride up into the armpits.
- There is no gaping that would let the dog twist or slip out if they panic.
Check range of motion, then decide.
Load-distribution notes for seat-belt attachments
When you brake, even gently, the leash or tether becomes a load-bearing line. To prevent accidental detachment under load, use a leash safety clip setup with your harness-tether system. Poor patterns concentrate that load on:
- The neck (if clipped to a collar)
- A narrow chest strap (if the harness pattern is restrictive)
Better designs spread force across:
- Broad chest and belly panels
- Multiple strap contact points
That's where my load-distribution notes always favor harnesses designed and certified for car use when possible. A generic harness can be acceptable for low-speed, around-town trips if it passes strict fit checkpoints, but for highway driving or anxious dogs who might lunge against the tether, car-rated gear is a safer choice.
Chafe-risk alerts
In cars, chafing risk rises because:
- Dogs brace themselves on turns
- They may lean into the harness when nervous
Watch for rub spots:
- Behind the elbows
- At the sternum
- Along the shoulder blades
If you see fur thinning or redness, that's a chafe-risk alert: adjust strap length, add a breathable chest pad, or consider a different cut.
FAQ 4: How do I build an in-car desensitization plan with what I already own?
You don't need a trunk full of gadgets. You need a clear progression and consistent use of your basic dog training supplies.
Step 1 - Prep outside the car (0-3 days)
Equipment:
- Everyday Y-front harness
- Standard leash
- Treat pouch and high-value treats
- Optional: mat
Drills:
- Practice mat settles in your hallway and driveway.
- Reinforce calm sits and downs with car doors open but dog outside.
- Add simple movements: you walk to the car, touch the handle, return and reward calm.
Success marker: Dog remains under threshold (will eat, can respond to simple cues) at each distance. For step-by-step settle work, follow our dog training mat guide.
Step 2 - Static car sessions (3-7+ days)
Equipment:
- Same harness and leash
- Mat placed where the dog will ride
- Seat-belt tether clipped to harness (no engine yet)
Drills:
- Dog hops into the stationary car on cue, earns treats for four paws on the mat.
- Close doors briefly, feed calmly, then open and release.
- Gradually lengthen duration in the parked car.
Success marker: 5-10 minutes in a parked car with relaxed body language, taking treats.
Step 3 - Micro-movements and very short drives
Now your car habituation tools are still the same, but your training picture changes:
- Engine on, car in gear
- Move a few meters, brake gently, return
Drills:
- Drive to the end of the driveway, stop, feed, return.
- Progress to a 1-2 minute low-speed loop.
- Vary directions and turns slowly so motion isn't predictable in only one pattern.
Success marker: Dog can complete multiple micro-trips per session without escalating stress.
At each stage, if anxiety spikes, you dial back intensity, not add pressure. During a shelter fit clinic years ago, a single change (switching a fearful dog into a correctly adjusted Y-front harness and lengthening the sternum strap) was enough for her to lie down in the car for the first time. The gear didn't "fix" her; the fit plus progression made progress possible.
FAQ 5: What equipment helps motion sickness vs pure anxiety?
Motion sickness training aids are not just about medication (that's a vet's role). As a trainer focused on ergonomics, I look at stability and visual input first.
For motion sickness
Helpful car-specific tools:
- Stable platform or booster seat so the dog's inner ear experiences less unpredictable sway.
- Non-slip matting inside crates or on seats to prevent feet from sliding.
- Slightly raised position (for smaller dogs) so they can see where they're going without craning their neck.
Generic supplies that help:
- Familiar mat or blanket with a known scent
- Pre-loaded lick mat for very short drives (if your dog can lick without getting queasier)
Always loop your vet in for persistent vomiting or nausea; equipment and training can reduce triggers but cannot replace medical assessment. If you’re evaluating containment options for travel, our impact vs standard crate comparison explains durability and safety trade-offs.
For anxiety-driven reactions
Here, in-car desensitization equipment is more about controlling sensory input:
- Calming caps or light mesh can reduce visual overstimulation from passing cars.
- Window shades cut down flickering light.
- Sound management (car radio volume, avoiding loud bass) minimizes noise sensitivity.
Layer that onto your base gear: harness, mat, treats, and a clear training progression.
FAQ 6: How should I fit and check a harness specifically for car travel?
Essential measurements (for a measurement-driven fit)
When choosing a harness, general or car-rated, start with these measures:
| Measure | How to Take It | Fit Target |
|---|---|---|
| Neck base | Around the lowest part of neck, where it meets shoulders | Snug but can fit 2 fingers under strap |
| Chest girth | Behind front legs at widest rib point | Harness range should place your dog near the middle, not at extremes |
| Sternum length | From base of throat to start of rib cage between front legs | Sternum strap should end on bone, not soft belly |
These measurements belong in your personal measurement tables, especially if you have multiple dogs or growing adolescents. For breed-specific recommendations and attachment point pros/cons, see our front- vs back-clip harness guide.
Car-specific fit checkpoints
In addition to standard harness checks, test these in a parked car:
- Dog sits, stands, and lies down on the seat or mat without the harness pulling up toward the throat.
- When you simulate a gentle 'brake' by holding the tether and stepping forward slowly, the harness:
- Does not slam into armpits
- Does not twist sideways
- You can slide a flat hand between any strap and the dog's body, but cannot pull the harness more than a couple of centimeters away from the chest.
If something feels off, adjust in small increments, then retest. Measure twice, adjust thrice, then test on real sidewalks before you take that setup onto the highway.
FAQ 7: I have a multi-dog or unusual-body-type household - what should I prioritize?
Breed-fit variants and special shapes
Different architectures create different breed-fit variants in the car:
- Sighthounds & lanky dogs: Deep, narrow chests; many "standard" harnesses slide forward and twist. Look for longer sternum plates and highly adjustable chest straps.
- Barrel-chested dogs: Broad ribs; risk of underarm rubbing if chest strap is too short. Seek deeper Y-fronts with good padding.
- Toy breeds: Tiny necks and shorter sternums; oversized hardware can press uncomfortably when tethered.
If one dog in the household seems fine and another is rubbed raw or contorted, assume pattern mismatch, not a "difficult dog." During one multi-dog clinic, a single sighthound transformed from tense to elastic simply by repositioning the sternum strap and testing her trot on a sloped sidewalk before re-entering the car.
Modular setups for multi-dog homes
For households with two or more dogs, aim for modular, repeatable setups:
- Each dog has a labeled harness with clear measurement notes.
- Seat positions are fixed (Dog A always on left, Dog B always on right or in crate).
- Tether lengths are pre-set so you're not re-adjusting in the driveway.
This modularity cuts down on human error and speeds up consistent handling, which is crucial when multiple people share driving and training duties.
Summary and Final Verdict
Is dedicated car anxiety training equipment better than generic dog training supplies? Not inherently. The best choice is goal-matched and dog-specific:
- For mild anxiety or new-to-car dogs, start with generic supplies: a well-fitted Y-front harness, mat, leash, and treats, plus a structured desensitization plan.
- For intense anxiety, motion sickness, or highway-level travel, add specialized car tools: crash-rated harnesses, stable platforms or crates, calming caps, and window shades.
- Use measurement tables and fit checkpoints to confirm that every piece of equipment supports natural movement and distributes load safely.
Think in layers:
- Foundation: Humane, non-restrictive harness and consistent training.
- Stability & safety: Car-compatible restraint points and non-slip surfaces.
- Sensory tuning: Visual and sound adjustments for sensitive dogs.
If you choose gear that respects anatomy, check range of motion before you decide, and progress in small, predictable steps, the car stops being a battleground and becomes just another place your dog knows how to relax.
In the end, humane car setups don't depend on gadgets; they depend on thoughtful fit, clear progressions, and equipment that works with your dog's body, not against it.
Related Articles