Chronic Pain Dog Training: 9 Adaptive, Low-Impact Protocols
By Priya Nanda • 10th Jun
Chronic pain shifts the rules of dog training: every rep, every step, and every piece of equipment has to be rethought so your dog learns without flaring their pain. Chronic pain dog training is really adaptive training for pain management (you're not just teaching cues, you're protecting joints, energy, and confidence for the long haul).
Chronic pain in dogs is usually defined as pain that lasts or reappears for more than three months, and it affects movement, sleep, mood, and behavior. Dogs in pain are more likely to show problem behaviors like irritability, noise sensitivity, reluctance to move, and training "shutdown," which often get misread as stubbornness. The good news: with a thoughtful plan, you can still work toward loose leash, recall, and settling, just on low-impact, pain-safe training protocols that match your dog's mobility.
Replace parts, not principles.
Below are 9 adaptive, low-impact protocols designed for training with mobility limitations (each with concrete criteria, low-impact training equipment suggestions, and "when to stop" guardrails).
1. Start with a veterinary pain plan, not a training plan
Before changing your training, you need to know what movements are medically safe for your dog.
- Work with your vet to confirm the diagnosis (e.g., osteoarthritis, spinal disease, post-surgical pain) and what ranges of motion are allowed or restricted.
- Ask specific questions: how long can your dog walk at a time, which surfaces are safest, which positions (sit, down, stand) are hardest, and what early signs of pain flare you should watch for.
- Modern pain management is multimodal: vets routinely combine medications, joint-supportive diets or supplements, weight management, physical therapy, and environmental changes. That medical foundation makes every rep of training less risky and more effective.
From a price-to-longevity angle: well-managed pain often means your dog can stay active longer with fewer emergency interventions. Fewer "crash days" translate directly into lower lifetime care costs.
Plain-language verdict: If your vet hasn't explicitly cleared the behaviors you're training, your protocol isn't pain-safe yet.
2. Audit your dog's movement and "step budget"
Once the vet clears broad activities, do a home movement audit so your training matches what your dog can actually do today.
Track over 3 to 5 days:
- How long a slow walk your dog can take before they start to slow, lag, or show stiffness later in the day (that's their step budget).
- Which positions they choose to rest in (many arthritic dogs avoid deep tucks or tight curls).
- Which movements trigger hesitation: jumping into the car, stairs, pivoting quickly, getting up from slick floors.
Turn this into numbers:
- Note "comfortable walk time" in minutes on good vs bad days.
- Rate post-walk stiffness on a 0-5 scale (0 = none, 5 = struggling to stand).
Buy once for welfare, maintain twice for durability.
Guardians who track this data often catch subtle declines weeks before they're obvious, so they can adjust walks and training early instead of paying for a crisis later.
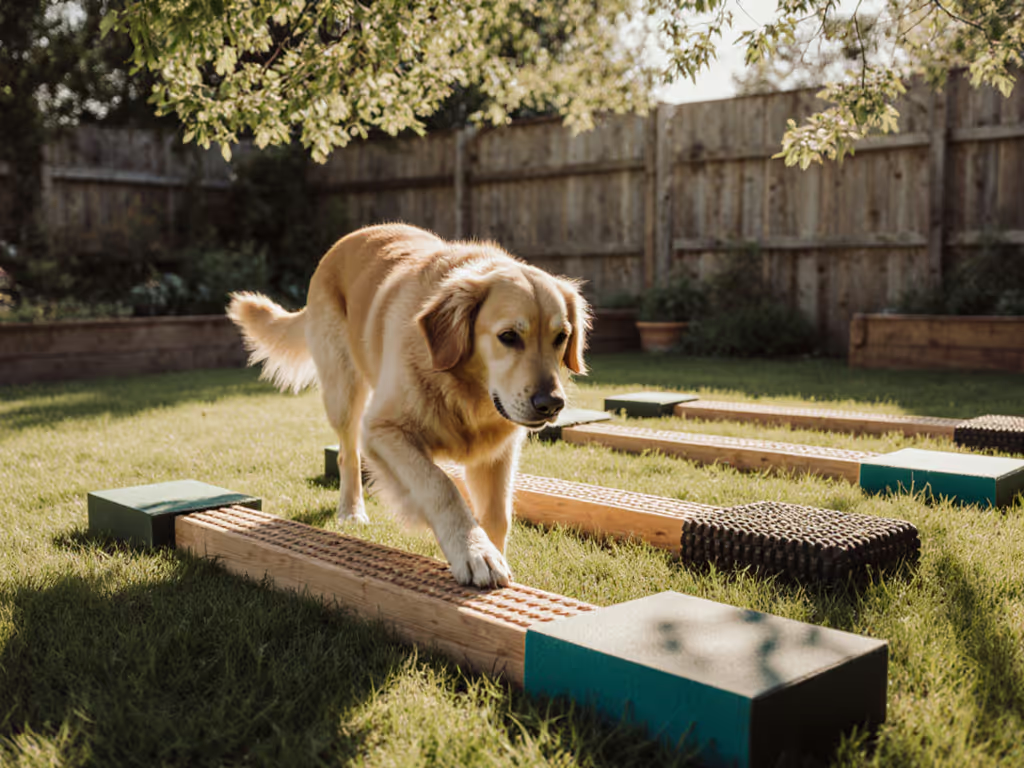
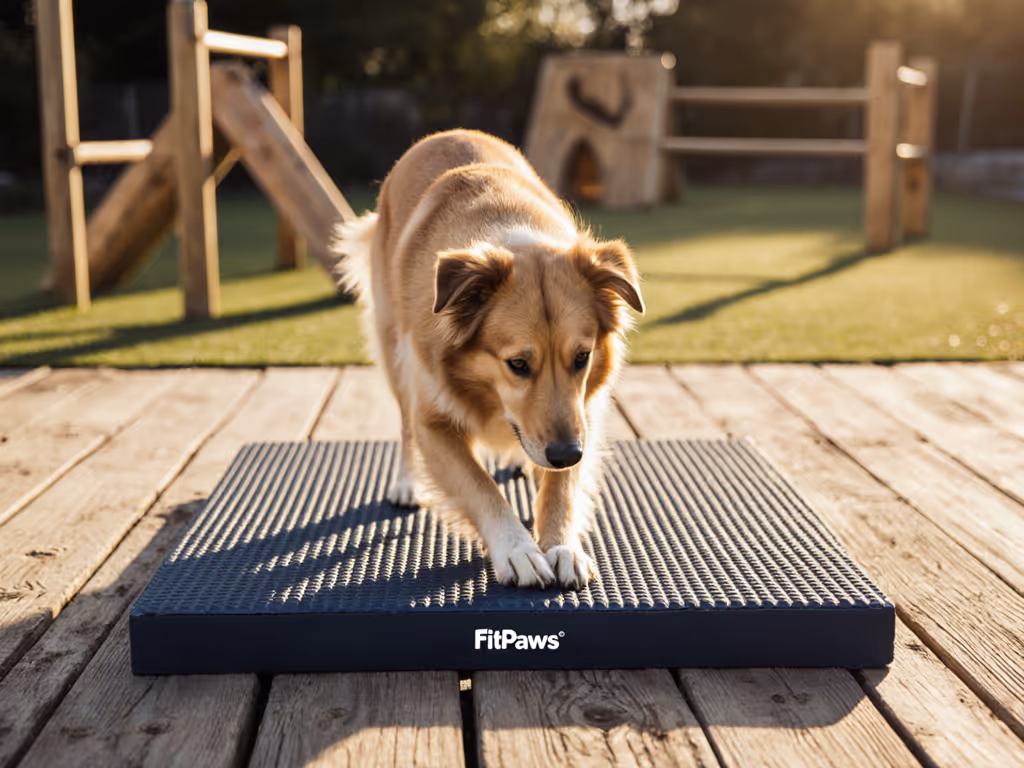
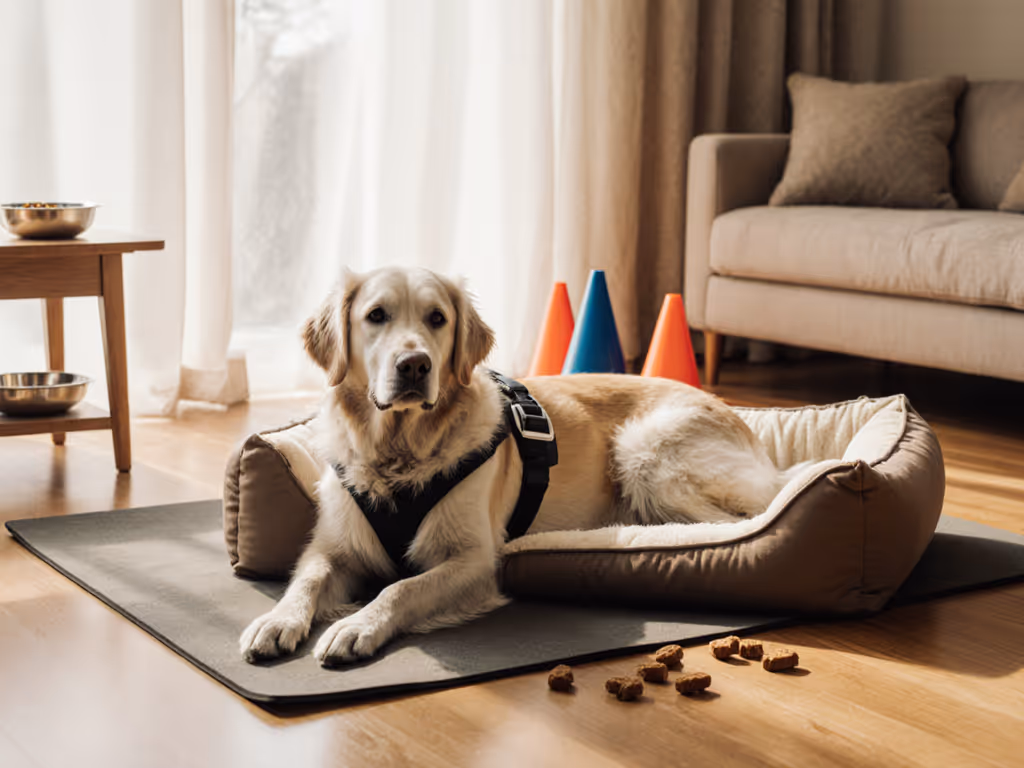
3. Rebuild the environment: traction, padding, and predictable paths
For dogs with chronic pain, environment is equipment.
Key arthritis-friendly changes before you train:
- Non-slip surfaces: Use rugs, yoga mats, or rubber runners where you practice sits, downs, or turns. Slipping increases joint strain and anxiety.
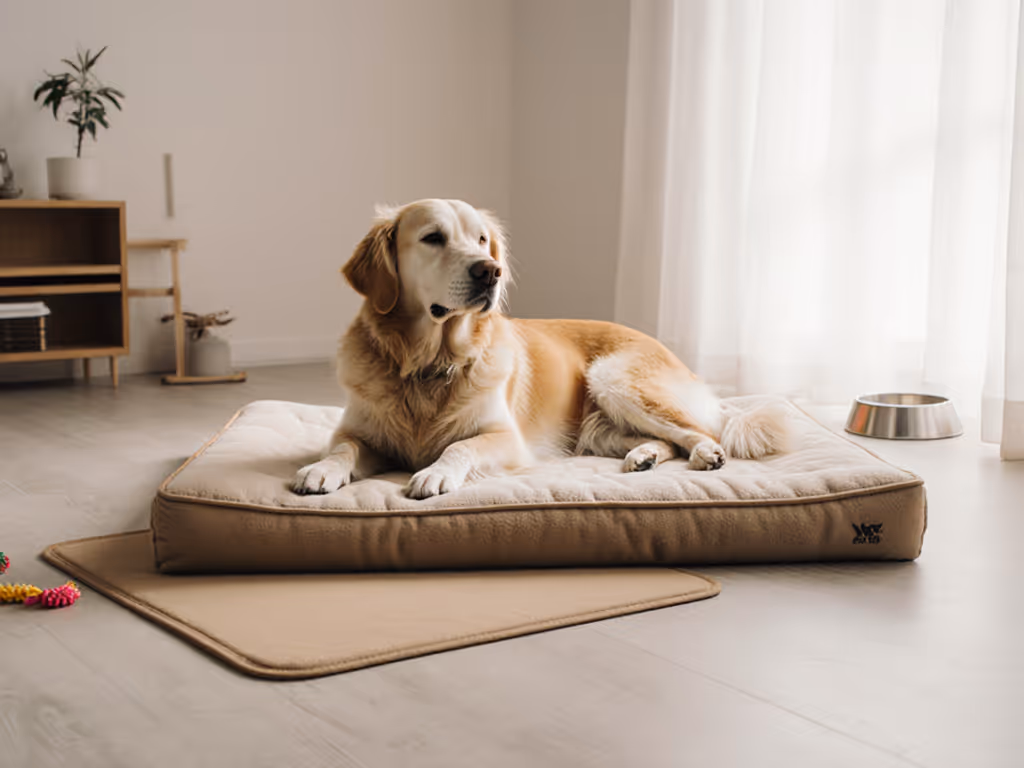
- Supportive rest spots: A firm but padded bed or mat in training areas so your dog can easily shift between work and rest.
- Predictable movement paths: Reduce tight corners and clutter where your dog needs to pivot or dodge furniture.
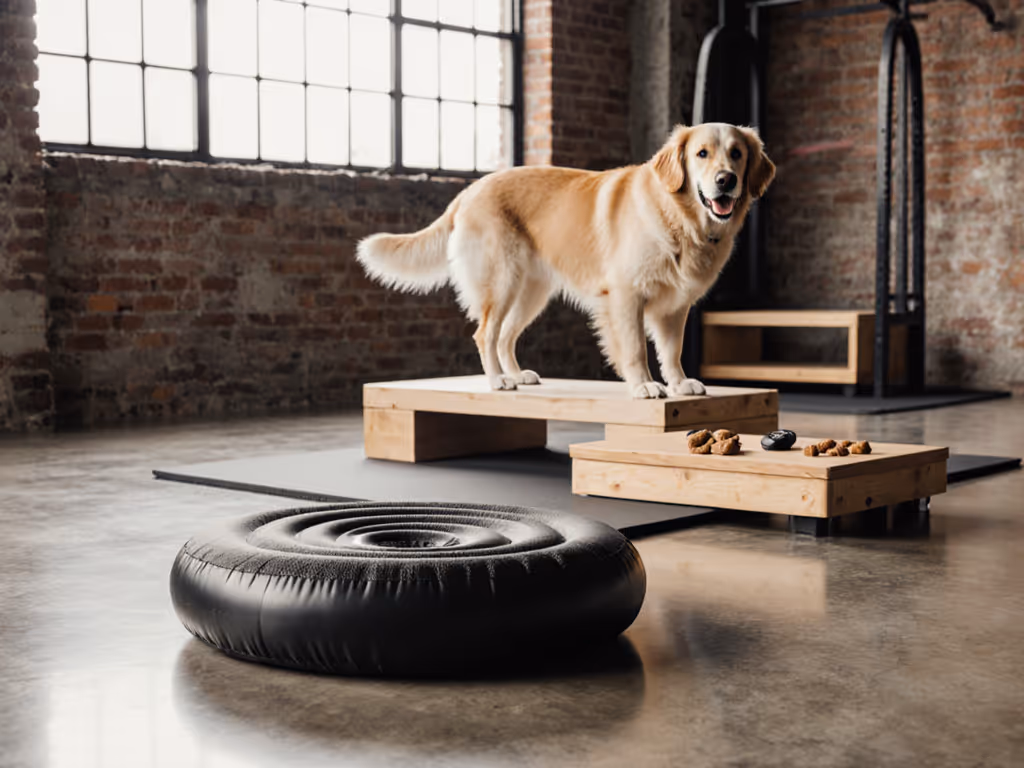
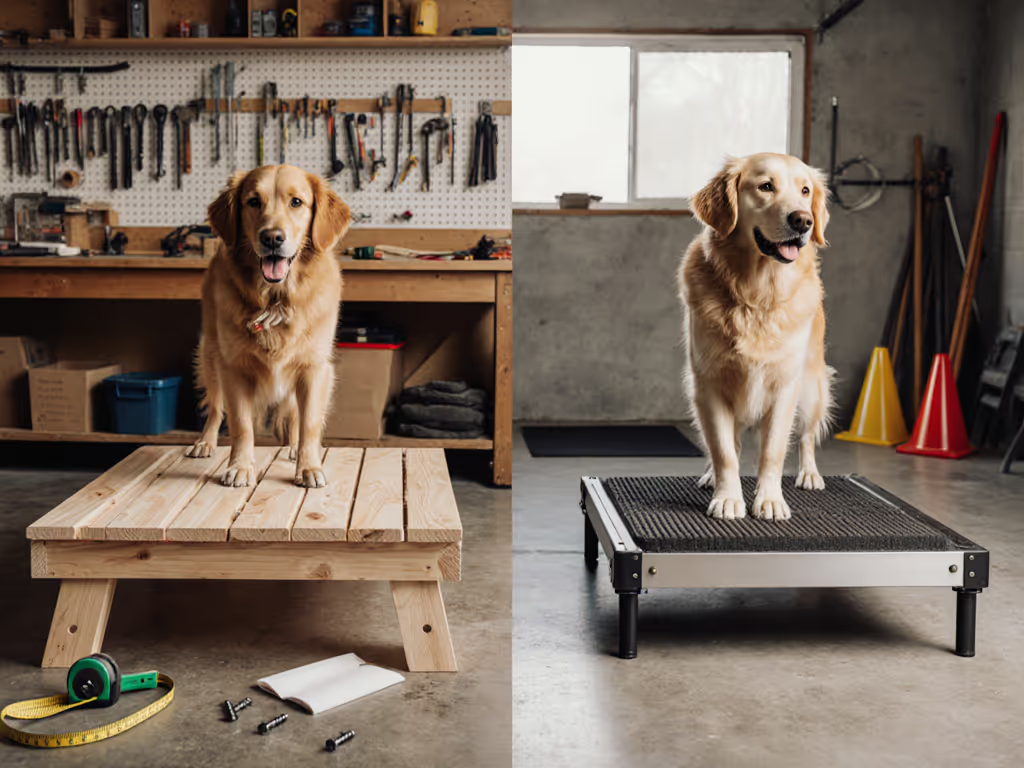
- Raised, stable platforms: Low, wide platforms or cots can be useful if your vet approves stepping on/off; they should be stable, non-wobbly, and low enough to avoid joint load.
From a price-to-longevity perspective, a few durable runners and one quality training mat usually outlast multiple "cute" beds that flatten quickly and don't prevent slips. Cheap, slick surfaces cost more in the long run if they cause repeated micro-injuries.
Plain-language verdict: If your dog is slipping, scrambling, or bracing against the floor, they're spending their pain budget on staying upright, not on learning.
4. Replace high-strain behaviors with functionally equivalent ones
Chronic pain dog training is about keeping the function of a behavior while changing its mechanics.
Common swaps (confirm with your vet):
- Instead of many sit-down-sit reps, teach a comfortable stand-stay as your default "wait."
- Instead of sharp u-turns or hand-target spins, use a slow head turn or tiny front-feet-only pivot.
- Instead of repeated "jump up" for greeting, teach a front-paws-on low platform or a "chin rest" on your hand.
- Use nose targets, eye contact, and chin rests as your core obedience toolkit. They are low-impact, information-rich, and can be shaped in tiny movements.
This is classic "Replace parts, not principles." The principle (dog offers a behavior on cue for reinforcement) stays; the physical "part" you swap is the movement pattern.
Objective marker: In a two-minute session, your dog should be able to perform the modified behavior 5–10 times without changes in gait, posture, or enthusiasm afterward. If they slow, pant, or move stiffly, the behavior is too costly.
5. Short, scattered sessions: 1–3 minutes, not 15–30
Dogs with chronic pain often have reduced stamina and may fatigue or flare if sessions are long, even when the behavior itself is low-impact.
Evidence-based adjustments:
- Aim for 1-3 minute sessions, 4-8 times per day, instead of one long 20-minute block.
- Use micro-breaks inside sessions (20 to 30 seconds of quiet sniffing, soft petting if they enjoy it, or simply letting them stand comfortably).
- Watch for early fatigue signals: slower response, more errors, gaze aversion, stiff transitions from sit to stand.
A practical metric: if your dog's performance drops by more than 20% near the end of a session (more missed cues, slower movements), the session is too long for their current pain level.
Plain-language verdict: End every session while your dog is still eager. With chronic pain, quitting early is not "giving up"; it's smart maintenance.
6. Redesign loose-leash walking for low impact
For many guardians, leash manners are the hardest skill to reconcile with chronic pain. Pulling can worsen pain for both dog and handler, and dogs with arthritis or spinal issues may alter their gait to manage discomfort, which changes how they pull.
Low-impact priorities:
- Use low-impact training equipment such as a well-fitted, Y-front harness that doesn't press on the neck or restrict shoulder extension (no tight chest straps across the front legs).
- Choose shorter, slower, sniff-heavy routes instead of long power walks. Sniffing is cognitively rich and physically gentle.
- Reinforce a slower baseline pace, and pay generously any time your dog chooses to walk calmly near you.
- On bad days, replace walks with sniffy yard sessions or indoor scent games if your vet agrees.
From a price-to-longevity standpoint, investing in one durable, arthritis-friendly harness and a cushioned, grippy leash is often cheaper than cycling through multiple poorly fitting options that cause rubs, escapes, or hardware failures. A single harness failure mid-walk can set back both training and joint health; it only took one mid-commute hardware failure in my own life to start calculating cost-per-walk.
Objective marker: Aim for 80% of steps on a slack leash over a 5–10 minute walk segment on a quiet route. If your dog cannot maintain slack without pulling, the environment, pain level, or walk length likely needs adjusting.
7. Make scent work your default "tired but not sore" activity
Scent work and simple nose games provide high mental effort with very low physical strain, making them ideal for dogs with chronic pain. If you want a ready-to-go setup, see our beginner-to-competition scent work kits.
Starter, pain-safe setups:
- Scatter feeding on grass or a snuffle mat - toss kibble or treats in a small, non-slip area and let your dog forage at their own pace.
- Box searches: place a few low boxes or containers on a grippy surface, hide treats in one or two, and let your dog sniff and find.
- Stationary scent puzzles: hide treats in a stationary toy or towel roll that doesn't require tugging or heavy pawing.
Guidelines:
- Keep each nose-work round to 2-5 minutes.
- Stop if you see increased stiffness, paw lifting, or frustration behaviors (repeated barking, quitting).
Objective marker: After a 5-minute scent session, your dog should look mentally satisfied but move no worse than baseline. If they're more stiff afterward, adjust the setup (smaller search area, less bending, more raised hides).
8. Train cooperative care as a core pain-management skill
Chronic pain usually means lifelong handling, medication, and vet visits. Cooperative care training turns those necessary tasks into predictable, low-stress routines instead of wrestling matches. For step-by-step desensitization and handling setups, see our cooperative care grooming guide.
Pain-safe cooperative care priorities:
- Teach a station behavior (on a mat, bed, or low platform) where your dog chooses to "opt in" for care.
- Use a chin rest on your hand or lap as a clear "I'm ready" signal, and teach a simple way to opt out (moving the chin away ends handling).
- Pair gentle handling of paws, hips, and spine with high-value food, and progress in tiny increments.
- Incorporate medication cues - a predictable routine for pills, liquids, or joint supplements, always within vet guidance.
Over time, this reduces strain on painful joints (less resisting and thrashing) and lowers stress hormones that can sensitize pain pathways.
From a cost and durability angle, solid cooperative care habits save you money in extra vet staff time, sedation, and injury risk for both dog and human.
Plain-language verdict: Every minute you invest in cooperative care pays back every time your dog needs treatment on a bad pain day.
9. Log data and adapt - chronic pain protocols are never "set and forget"
Chronic pain conditions change over time. Guidelines in veterinary medicine emphasize regular reassessment and adaptation of pain management to match the dog's current status. Your training plan should adapt just as often.
Build a simple weekly log:
- Pain/mobility score (0-5) each day (0 = moves freely, 5 = severe difficulty rising or walking).
- Comfortable walk duration before slowing or stiffness.
- Training notes: what you worked on, how many minutes, and any signs of fatigue.
- Behavior flags: new reactivity, reluctance to jump into the car, avoiding stairs, or "out of nowhere" aggression, which can all be linked to pain.
Use this log to:
- Decide when to shorten walks or replace them with indoor scent sessions.
- Identify which protocols your dog tolerates best on "bad days" vs "good days."
- Bring concrete, date-stamped data to your vet and (if you have one) your trainer to adjust medications, exercise, and training intensity. Recording short sessions can help—compare options in our training video analysis apps guide.
Objective marker: Revisit your plan with your vet at least every 3-6 months, sooner if your log shows more than two weeks of worsening scores.
For further exploration, use your log and the nine protocols above to build three separate plans with your care team:
- A good-day plan (more training, slightly longer walks, new skills).
- A medium-day plan (mainly scent work, short leash walks, easy review behaviors).
- A bad-day plan (essential toileting only, cooperative care, and comfort-focused interaction).
That structure keeps you out of guesswork mode. You'll know, in plain numbers, when to push, when to maintain, and when to protect. In other words: Buy once for welfare, maintain twice for durability (of your dog's comfort, your training progress, and your shared daily life).
Related Articles